Showing posts with label Maintenance. Show all posts

Tuesday, October 30, 2012

Leather Wheel Wrap

What started out as a well intended "afternoon project" turned into a fatiguing three day marathon.  I found a custom sized leather wheel cover kit (with foam) when I was sorting through our spare parts boxes (the prior owner purchased... but never installed).  I figured this project was perfect for me because I love sewing and it was marine related.

Research online has suggested that these kits can cost upwards of $300 (on the high end) and I figured there was no value in keeping it in storage. 

The thread that comes in the kit is very sticky and, at first, I disregarded the instruction's suggestion to wear sailing gloves to protect your hands (MAKE.SURE.YOU.WEAR.GLOVES) - the thread cuts right through skin.  After ever stitch, you have to pull the leather as tight as possible (hard on the hands even wear gloves) to insure that the interior foam is covered and the leather is stretched adequately.

Leather Installation - in process.
I am (and I think T is too) surprised at how happy I am with the finished product.  Our wheel is now pleasant to hold on to, it is not slippery, and, best of all, it is not cold (due to the interior foam adhesive wrap). 

Finished product.
Finishing this project involved many hours of sweaty labor and hundreds of stitches.  It was well worth it.  I can see how one could justify the expense of this added comfort/luxury. 


YouTube Boat Leather Instructions...


Thursday, October 18, 2012

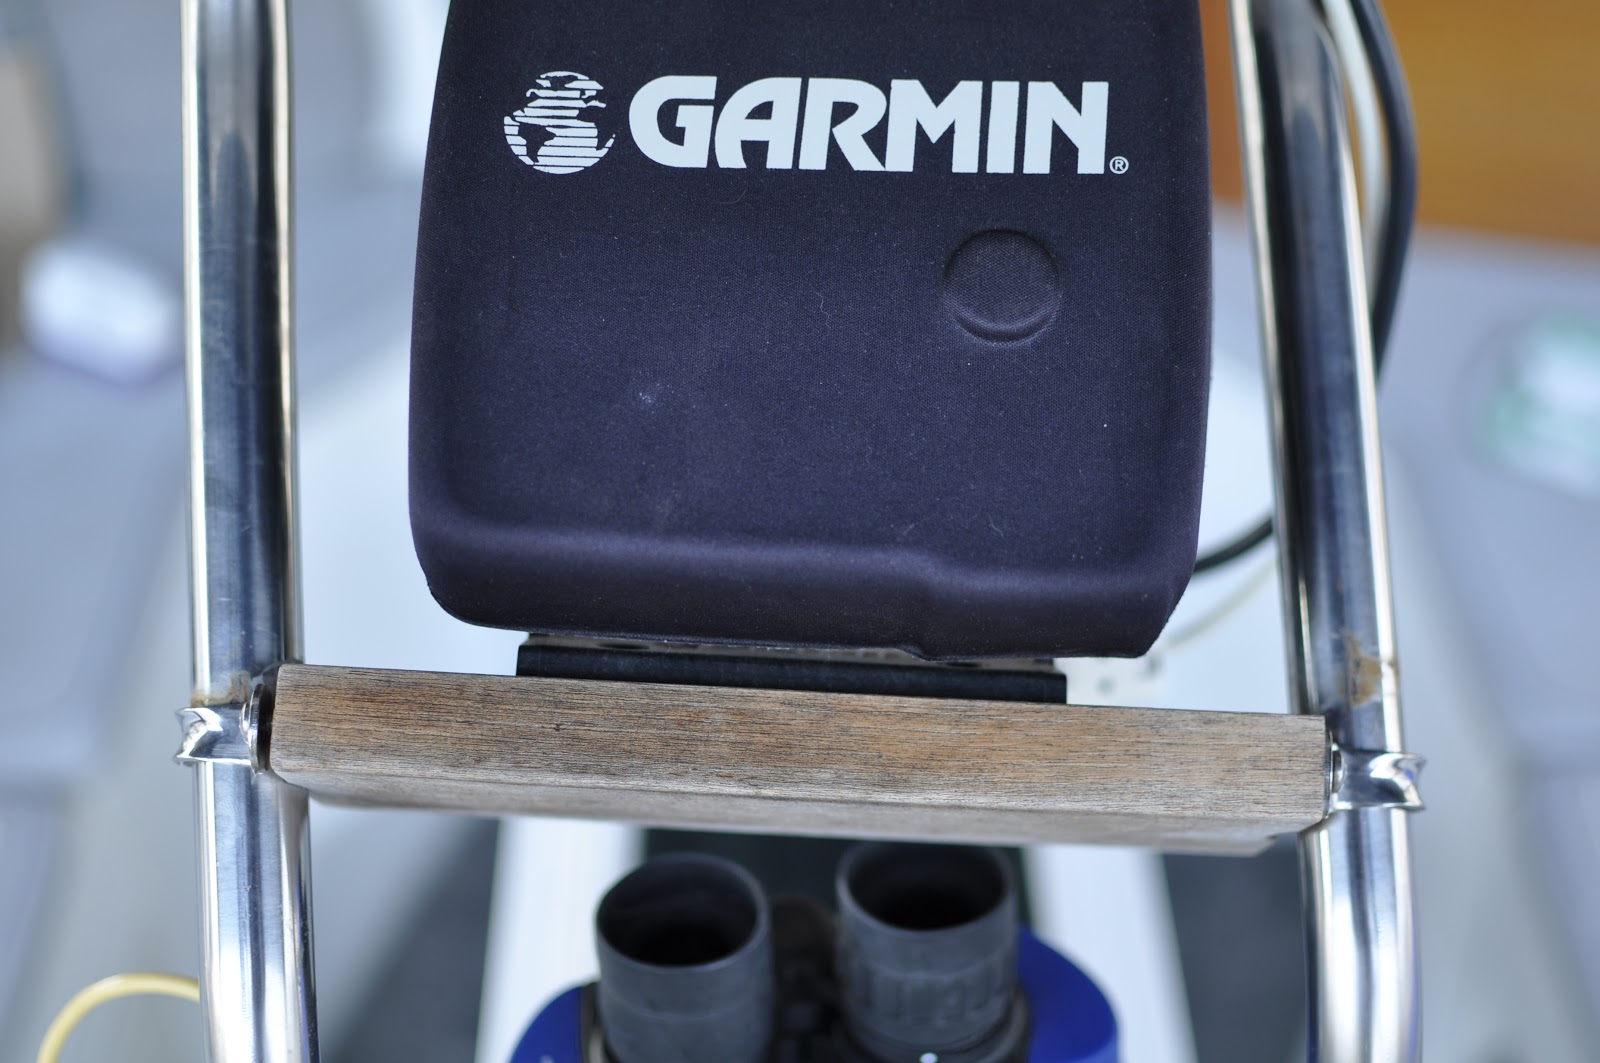
Nit-Picky Projects - Repairing the GPS Mount.

I know, in the grand scheme of things, this was a silly project.  There are a lot more vital projects that I could focus on but .... THIS.WAS.BOTHERING.ME.  Every time I walked by... which is a lot.

GPS Mount, back - BEFORE -
GPS Mount, front - BEFORE
The mount was firmly in place (not going anywhere)... but two screw holes had been striped and, as a result, the entire unit, rested crooked and did not look very "ship shape". 

Wood Filler, ACE Hardware - $5
To fix the striped holes, I purchased wood filler for about $5, from the hardware store.  I then pushed as much filler into the striped holes as possible and let set for 72 hours. 

Wood Filler - setting.
Next, I used some gray heavy duty outdoor spray paint to clean up this dull looking piece of wood (we do not have much wood on the exterior of the boat... so it kind of clashed anyhow).  I did four coats, letting each set for about 24 hours.

After Paint
Viola!  Finished product:

GPS Mount - AFTER
This was a nit-picky project... but I feel so much better now that it is done.  It was starting to remind me of the Dreaded Box.


Wednesday, October 10, 2012

Whats THAT smell? Replacing the foam seal on our ice box.

This summer, I made a point of tackling smaller maintenance projects aboard.  It was clear that we needed to replace the seal on our "ice box" (it could be used as a freezer/fridge... but it is our dry goods storage right now... there is not refrigeration unit).

The existing foam that provided a cozy seal was rotten and starting to not smell so good when the ice box lid was open (GROSS).
 
Rotten, nasty ice box seal.
This is going to be an ongoing issue and I will be more proactive about replacing the seal in the future.  This project took me about 15 minutes and cost $6.  This extra ice box is located in the counter space between the sink and the stove so it is the obvious place for letting dishes dry.  No matter what I use (plastic dish wrack, etc), water finds its way into the foam seal. 

The process...

To make sure I had good access to the back of the seal, I removed the lid from the ice box by removing the brackets and screws that attached it. 

Lid - removed - old foam seal.
Next I removed the old foam.  Most of it came of easily, but I used a chisel to remove the adhesive/foam in a few places.

Foam seal removed.
To install the seal, I simply removed the adhesive from the foam and pressed it around the perimeter of the ice box leaving the seam in the back of the box where it cannot be seen.  I cut the foam strip to size after I installed the foam. 

Ice box lid reinstalled with new seal.
The new seal has been installed for about four months.  In the future I will try to get a more heavy duty refrigeration seal.  Unfortunately, over time, as the foam inevitably gets wet, it has compressed to the thickness of a normal piece of cardboard (I purchased the hardest and thickest foam at the hardware store).  This compression means that the ice box lid is not sitting flush with the counter (a little annoying). 

Overall, this was an easy, fast, and affordable project.  Go for it! 

Thursday, May 31, 2012

Cleaning Marine Canvas

Still fueled with excitement from our first successful weekend cruise of 2012, I decided to start cleaning the canvas in our cockpit.

Dirty!
First - I cleaned the canvas on the dodger. 
Next - I innocently removed and cleaned the canvas walls.  
THEN - I casually (HA!) removed and cleaned the canvas ceiling.  

Canvas walls removed.
Canvas Ceiling Removed
Reinstalling the clean canvas is a more than one person job.  I highly recommend a partner.  The fact that I got everything back in place, by myself, before the kids woke up, was a miracle! 

One more maintenance project checked off our list!  :)


Tuesday, May 29, 2012

Cleaning Vinyl Cockpit Windows

The weather on our first overnight/weekend trip was amazing.  Enjoying the view through our cockpit windows while underway (with the sun reflecting brightly off the water) was NOT.

Dull Vinyl Windows w/ Salt Residue
T brought this product home:

Plexus Cleaner - Approximately $25
Simply spray product on vinyl windows, let sit for one to two minutes, and buff with a cotton rag/towel. 

AFTER
 Easy nap time or after bed time project.  Very noticeable difference!


Thursday, November 17, 2011

Managing Moisture & Mold Aboard

I few days ago, I was restocking the diaper supply in the master stateroom (our bulk diaper boxes are kept in bow locker (right behind the head of our bed).  I noticed that the plastic packaging around the diapers was damp.  Condensation... ugh!
Bow Locker
I emptied out the locker and gave it a vinegar wash.  With the locker emptied, I noticed a floorboard that I had never looked under.  The floorboard gave access to the whole forward portion of the hull (it is a lot more steep and narrow than it appears in the photo) - MOLD!!

Mold - Before Clean -
I had my whole upper torso in this compartment (pleasant).  Again, I sprayed the area with white vinegar, let it sit for a couple minutes, and dried it meticulously. 

-After Clean-
My hope is that we have covered most of the boat and I wont find any more of these unpleasant surprises.  

Monday, October 24, 2011

Marine Dehumidifier - Managing Humidity

One of the main challenges for liveaboards is managing moisture, humidity, and condensation issues. 

In an effort to bring down humidity aboard Ma'alahi, we recently purchased the Eva-Dry 2200 Electric Dehumidifier from Amazon ($85):
Manufacturer's Product Description
We have seen a noticeable drop in humidity with the Eva-Dry (a 10-15% decrease).  We keep it running at night and during the day when the kids and I are running errands.  It is about as loud as a table fan.

To supplement the central heat and dehumidifier we use DampRid: 
According to DampRid's website, "... white calcium chloride crystals absorb excess moisture in the air, bringing humidity to an ideal and safe level..."  We use this product primarily in our bilge and it does appear to be effective (evident through water in the bottom of the container).  Our experience with DampRid is that it, used alone, will not reduce humidity drastically.    

T had a few of these marine dehumidifiers on his first boat (Pacific Seacraft 28').  He has an indifferent opinion on these and said that he did not see a noticeable change in humidity.  (They are in our garage sale pile). 

Friday, October 14, 2011

Heat & Moisture

Keeping a boat warm and dry is very important when you are living aboard.  

Heating aboard Ma'alahi has evolved over the last four months.

We have experimented with forced air electric space heaters (too noisy), a radiant heater (only heats objects in its path (not warm enough)), electric oil heaters, and our centrally installed hydronic diesel heating system.

Electric Oil Heater
Up until early September, we were able to keep the family comfortable with three electric oil heaters.  We keep the temperature in the main living area (where M sleeps) between 68 and 70 degrees (the recommended temperature for a newborn).

Since we have made the transition from Summer to Fall, our hydrometer has gone from 50-60% humidty to 80% humidity.  We did not see any visible signs of condensation in the main living area.  HOWEVER, when T inspected the hull, bellow the waterline and under the settees, he found that we had a slight moisture/condensation issue.  We were able to remedy this issue by switching from the electric oil heaters to our centrally installed hydronic diesel heating system.

The oil heaters were keeping the air in the living areas warm and relatively dry.  They were not powerful enough to warm the space between the settees and the hull, thus resulting in a moisture problem.

T and I carefully cleaned and dried all of the areas of the hull (bellow the waterline), that we could reach, in about 3 hours (using white vinegar).  Once these areas were clean and dry we started up the centrally installed hydronic diesel heating system.

Hydronic Diesel Thermostat
Since we started using the central system, the humidity has decreased substantially to between 55 to 70% (depending on the weather) and the hull has stayed dry.

Here is a brief description of how our heating system works: (from ITRheat.com)
"The circulation of hot water to provide heat is known as a “Hydronic” System. It is a closed system continually circulating the same coolant. It begins with a furnace or boiler, usually fueled by diesel, or electric elements that heat the coolant up to 180 F degrees. A water pump circulates the hot coolant through a domestic water heater and then to the various fan units located throughout the interior of the yacht..."
My understanding is that these systems are very expensive (labor intensive) to install.  Ma'alahi came with this system.  The prior (and only) owners had the system installed when they purchased the boat in 2001.  

T estimates that we use about four to five gallons of diesel per week.  This means approximately $80-$100 per month in fuel.  We will see what happens (as far as expenses go) as it gets colder.  We are happy that we are warm and the boat is dry.