Friday, December 21, 2012

Photo(s) of the Week - Lighted Boat Parade

Dark... 20-30 knot winds... sideways rain.  

Brave Souls
M was unimpressed with the less than ideal conditions.  I was impressed that this parade had participants. 

Unimpressed

T & K
This was one of those character building exercises. 


Saturday, November 17, 2012

Overwhelmed.

I have been "virtually" absent.

Overwhelmed.

We are in a great place.  Our family is happy.  We LOVE this lifestyle.

HOWEVER - there is a laundry list of things that I am trying to work on and I find that I get overwhelmed quickly.  Researching products and options - all while trying to make sure we are getting the best possible deals on the best reviewed/rated products.

We DO have a travel timeline and list of goals and tasks that we need to complete.  Our to-do list isn't that long... but, due to our tight budget, we have to meticulously research all of our options.

We are in the process of replacing all three of our halyards (two of them broke... but that is a side story), replacing our coated lifelines with uncoated stainless steal lifelines, ordering and installing lifeline netting, figuring out what first aid equipment we want aboard (whether we will order a pre made kit or build our own), preparing a "ditch" bag, and much much more.  I am also trying to find a wild land (or even cruising/marine) related first aid class to take.

I find myself spinning in circles and stressing about little (and big) things.  I am starting to accept the reality that we are going to be spending a lot of money to get the boat ready for travels.  Our main concern with the kids aboard is their safety - turns out that safety gear and accessories are expensive!

Additionally, we are trying coordinate the gifts that we receive this holiday season to be related to things on our to-do list.  For example, T is very excited to receive a new membrane for our watermaker.

Anyhow.  I am around.  Just a bit overwhelmed and spinning my wheels.


Friday, November 2, 2012

Appreciating little moments...

I am sitting inside our warm boat... it is dark outside and RAINING. 

Looking through my photo and video archive, I found this video I recorded while kayaking on September 30th - a simple and beautiful day.  I am so thankful that I have the perspective to appreciate special moments like these... to really enjoy them soak them up. 


Instead of paddling on, I stayed still, listened, and appreciated the peaceful man, practicing his guitar on the bow of his boat, the cloudless sky, the relative quiet/calmness on the water, and mount Baker off in the distance. 

Tuesday, October 30, 2012

Leather Wheel Wrap

What started out as a well intended "afternoon project" turned into a fatiguing three day marathon.  I found a custom sized leather wheel cover kit (with foam) when I was sorting through our spare parts boxes (the prior owner purchased... but never installed).  I figured this project was perfect for me because I love sewing and it was marine related.

Research online has suggested that these kits can cost upwards of $300 (on the high end) and I figured there was no value in keeping it in storage. 

The thread that comes in the kit is very sticky and, at first, I disregarded the instruction's suggestion to wear sailing gloves to protect your hands (MAKE.SURE.YOU.WEAR.GLOVES) - the thread cuts right through skin.  After ever stitch, you have to pull the leather as tight as possible (hard on the hands even wear gloves) to insure that the interior foam is covered and the leather is stretched adequately.

Leather Installation - in process.
I am (and I think T is too) surprised at how happy I am with the finished product.  Our wheel is now pleasant to hold on to, it is not slippery, and, best of all, it is not cold (due to the interior foam adhesive wrap). 

Finished product.
Finishing this project involved many hours of sweaty labor and hundreds of stitches.  It was well worth it.  I can see how one could justify the expense of this added comfort/luxury. 


YouTube Boat Leather Instructions...


Thursday, October 18, 2012

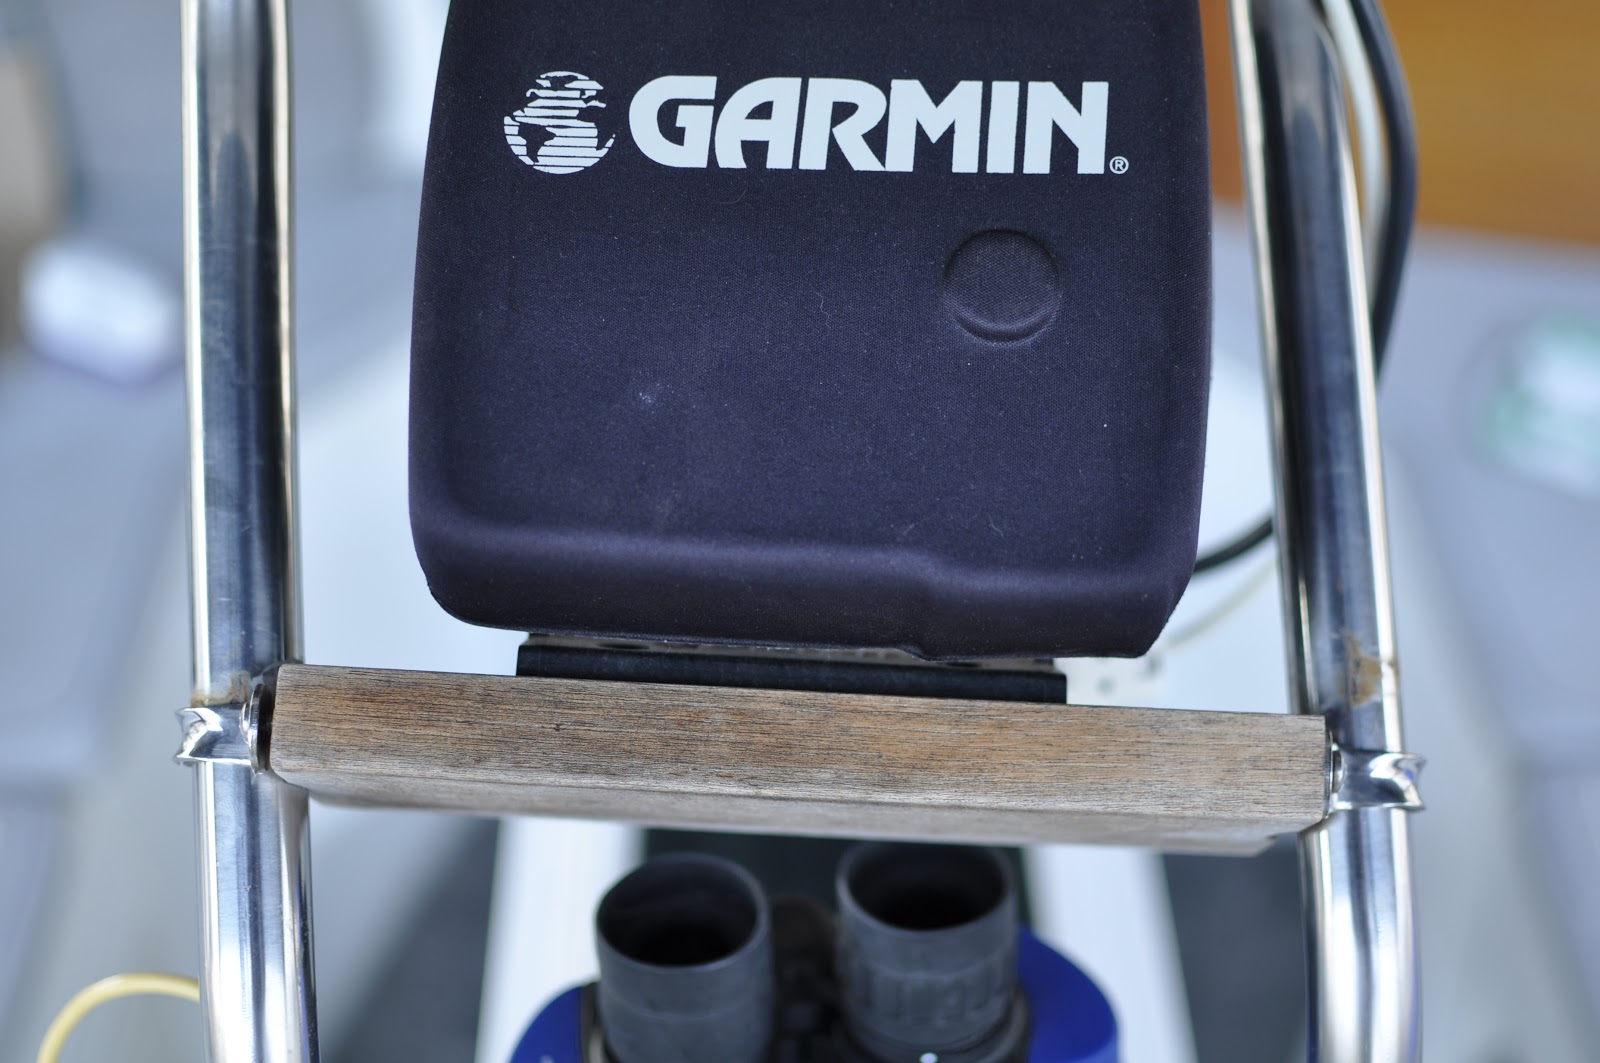
Nit-Picky Projects - Repairing the GPS Mount.

I know, in the grand scheme of things, this was a silly project.  There are a lot more vital projects that I could focus on but .... THIS.WAS.BOTHERING.ME.  Every time I walked by... which is a lot.

GPS Mount, back - BEFORE -
GPS Mount, front - BEFORE
The mount was firmly in place (not going anywhere)... but two screw holes had been striped and, as a result, the entire unit, rested crooked and did not look very "ship shape". 

Wood Filler, ACE Hardware - $5
To fix the striped holes, I purchased wood filler for about $5, from the hardware store.  I then pushed as much filler into the striped holes as possible and let set for 72 hours. 

Wood Filler - setting.
Next, I used some gray heavy duty outdoor spray paint to clean up this dull looking piece of wood (we do not have much wood on the exterior of the boat... so it kind of clashed anyhow).  I did four coats, letting each set for about 24 hours.

After Paint
Viola!  Finished product:

GPS Mount - AFTER
This was a nit-picky project... but I feel so much better now that it is done.  It was starting to remind me of the Dreaded Box.


Wednesday, October 17, 2012

Creature Comforts Aboard

So much of our (my) daily life consists of making sure that our kids are safe, healthy, and thriving emotionally and intellectually.

In July, when we spent a week at the Henry Island Seattle Yacht Club Outstation, I realized that we (adults) needed a little lifestyle treat.

ENO Doublenest Parachute Hammock
After a little research and (online) shopping, I ordered the ENO (Eagle's Nest Outfitters) Doublenest Parachute Hammock for $50.  This hammock is large (although not really comfortable when sharing with another person... but that may be personal preference) and has a 400 lb capacity.  It is also very compact, packing into a small (5" X 4") stuff bag when not in use.  Additionally, the entire hammock weighs 1lb 6 oz. 
Manufacturer Photo
I was able to spend a few precious hours in the hammock this summer.  Reading... daydreaming about the future. 

The weather was warm (perfect) when we spent the weekend in Bedwell Harbor (BC, Canada).  While the kids were asleep, I rested in the hammock and thought about all of the amazing and beautiful things that we are going to see from it in the future.  I thought about seeing glaciers, harsh mountain landscapes, and wildlife.  I thought about warm breezes and tropical air.  All from our new hammock. 

We are going to make it happen. 

Wednesday, October 10, 2012

Whats THAT smell? Replacing the foam seal on our ice box.

This summer, I made a point of tackling smaller maintenance projects aboard.  It was clear that we needed to replace the seal on our "ice box" (it could be used as a freezer/fridge... but it is our dry goods storage right now... there is not refrigeration unit).

The existing foam that provided a cozy seal was rotten and starting to not smell so good when the ice box lid was open (GROSS).
 
Rotten, nasty ice box seal.
This is going to be an ongoing issue and I will be more proactive about replacing the seal in the future.  This project took me about 15 minutes and cost $6.  This extra ice box is located in the counter space between the sink and the stove so it is the obvious place for letting dishes dry.  No matter what I use (plastic dish wrack, etc), water finds its way into the foam seal. 

The process...

To make sure I had good access to the back of the seal, I removed the lid from the ice box by removing the brackets and screws that attached it. 

Lid - removed - old foam seal.
Next I removed the old foam.  Most of it came of easily, but I used a chisel to remove the adhesive/foam in a few places.

Foam seal removed.
To install the seal, I simply removed the adhesive from the foam and pressed it around the perimeter of the ice box leaving the seam in the back of the box where it cannot be seen.  I cut the foam strip to size after I installed the foam. 

Ice box lid reinstalled with new seal.
The new seal has been installed for about four months.  In the future I will try to get a more heavy duty refrigeration seal.  Unfortunately, over time, as the foam inevitably gets wet, it has compressed to the thickness of a normal piece of cardboard (I purchased the hardest and thickest foam at the hardware store).  This compression means that the ice box lid is not sitting flush with the counter (a little annoying). 

Overall, this was an easy, fast, and affordable project.  Go for it!